You can export your data to QuickBooks by running our Java application now. It’s for Windows only. Intuit hasn’t provided Mac QBFC yet.
Preliminary Requirements
- You must install QBFC. You only need to do this once when running the app for the first time on your machine. Click here to download and install QBFC. After QBFC installation is complete, you may be shown a “Getting Started with QuickBooks FC” window, in addition to other related windows. Please disregard and close all these additional windows.
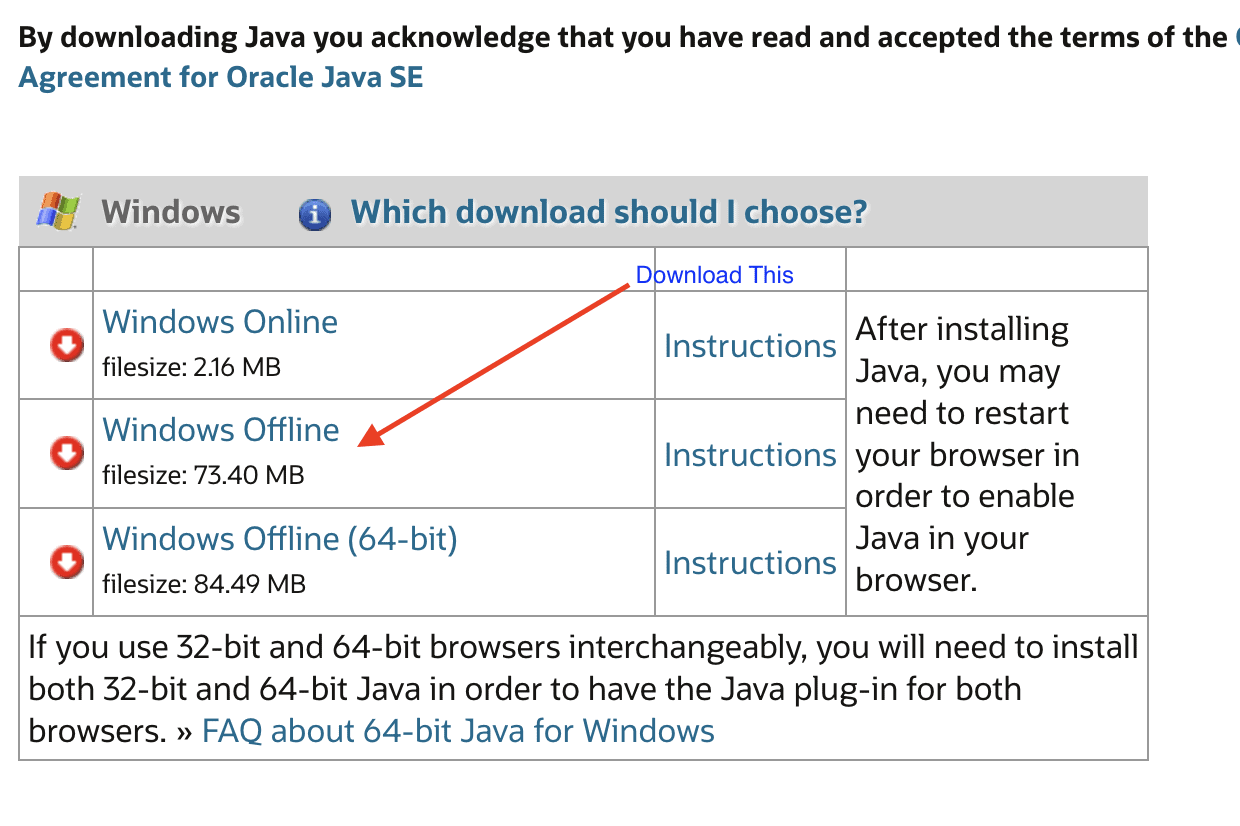
- If you have a JAVA 64 bit JRE version installed, please uninstall it. QBFC requires 32 bit JRE version 7 update 51 or later. Click here to download the JRE installer.
Running Exporting Program
- Setup QuickBooks company file
- Although you can export your data to an existing company file, we strongly recommend that you export the data to a newly created one. If you really want to do it with the existing one, back it up first.Open QB, and create a new company file with the Express Start option. Ensure NOT to close the company file during the export process.
- Running program
- In your windows computer, click on Start button.
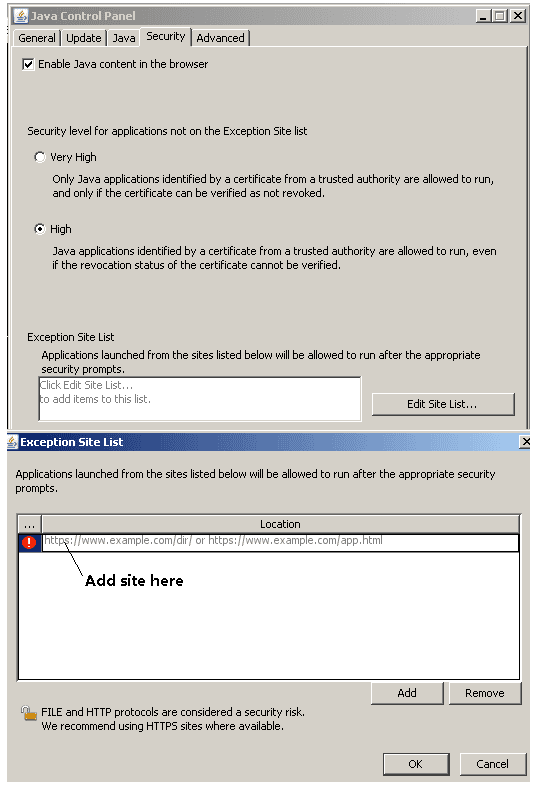
- Search for Configure Java and open it. You will see a Dialog Box.
- Goto Security (tab) -> Click on Edit Site List -> Add Button -> Add the following URL.
- https://trexglobal-assets-live.s3.amazonaws.com
- Disable Algorithms
- Open Notepad as Administrator

- Click on File -> Open. Navigate to C: Drive -> Program Files (x86) > Java > jrex.x.x_xxx > lib > security
- From the Dropdown in the bottom right corner above Open button. Select All Files
- Select file java.security
- In the opened file. Search for jdk.jar.disabledAlgorithms (You will find 2 occurrences, the second one is )
- Add # at the beginning of the line if it does not exist. Also any subsequent line which after a \ at the end. Example
- # jdk.jar.disabledAlgorithms=MD2, MD5, RSA keySize < 1024, \
# DSA keySize < 1024, SHA1 denyAfter 2019-01-01 \
# SHA1….
- # jdk.jar.disabledAlgorithms=MD2, MD5, RSA keySize < 1024, \
- Save and Close the file.
- Open Notepad as Administrator
- Download and Run the application.
- Download the SimplifyEm QuickBook Sync Application from here
- Go to where the file is downloaded and Extract the zip file by Right Clicking and Selecting Extract All.
- Goto the Folder and Double Click on DataSync.jnlp. Keep all of these files on your machine so you don’t have to download them again next time when launching the application.
- You will get a security warning dialog on Windows Vista and Windows 7. Select the check box at the bottom and click “Run” to continue.

- Exporting Data
- Enter your SimplifyEm account email and password. Follow the steps in the main UI to have your data exported to the company file:
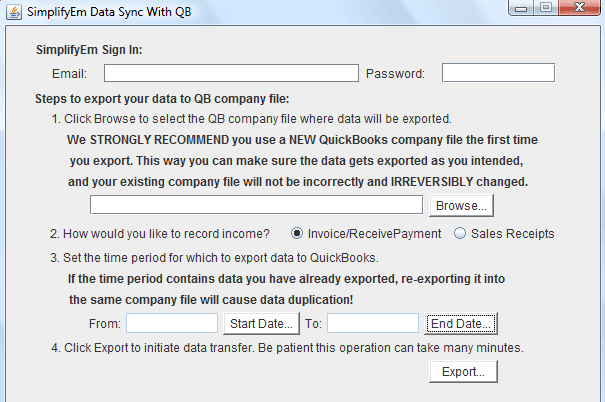
- Click Browse to select the QB company file where data will be exported (the newly created one is highly recommended).
- Select the way to record income.
- At the very least, set the earliest date for which to export data to QuickBooks. It’s optional. You can leave it empty, which means you want to export all of your data to the company file. It may take many minutes.
- Click Export, then click OK in the confirmation popup to start the data transfer. Or click Cancel in the confirmation popup to cancel.
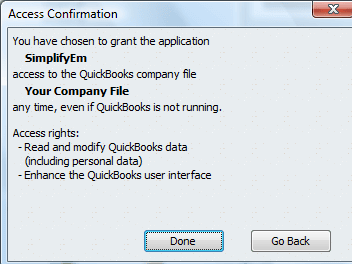
Then you will get the QB application certificate dialog. You may check either the 3rd or 4th radio button to grant the application access to the company file.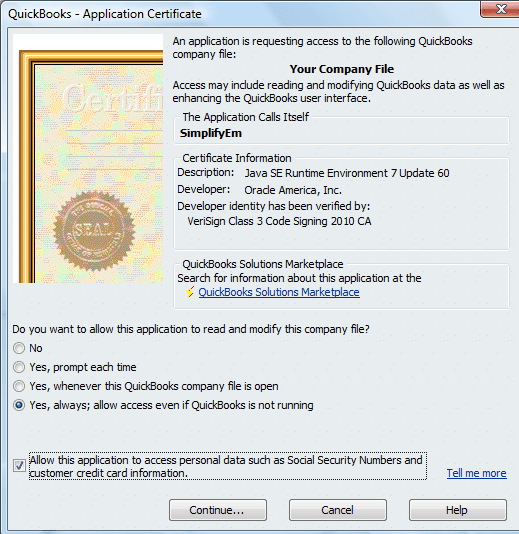
- Click Continue and you will get the access confirmation dialog. Click Done to start the data exporting process.
- You will get the Finishing Exporting dialog when data exporting finishes:

- Enter your SimplifyEm account email and password. Follow the steps in the main UI to have your data exported to the company file:
Now you’re done with the data exporting process. Congratulations!